
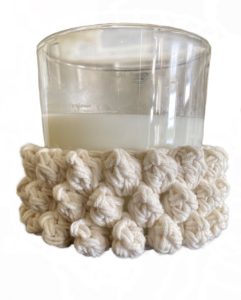


Make a fully customisable cover for any size cylindrical jar, candle, or tube. Or, as they are self supporting, a basket/container!
Easy
This pattern is written in US Crochet Terminology and uses standard Crochet Abbreviations.
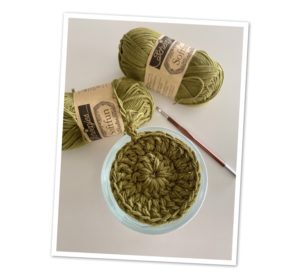
My samples were made with 2 strands held together of dk weight cotton/acrylic mix yarn and a 5.5mm crochet hook.
The olive sample has the final round crocheted with 2mm leather cord.
Continue until your circle is the same size as your jar base by making a larger circle in the standard way as follows –
You may need to experiment by doing your rounds in different Sts to make the circle fit for example –
To make my olive base I crocheted 2 rounds of dc, and then a 3rd round of hdc to make my base just larger than the glass – but you may find you need to use sc too.
Make sure your circle isn’t smaller than your glass, or you won’t be able to get your cosy on!!
Your base can be any size but you must have an even number of Sts.
Repeat this row up the height of your cylinder.
Stop when you are approximately half an inch from the top of your cylinder.
If you find your rows are not naturally finishing with a half inch to spare manipulate your work by either stretching it up slightly or squashing it down slightly – either way will make up the slight shortfall or extra you have with no detriment to the pattern.
It should be tricky getting it on! If it’s easy it’s a bit big!! If you’re really struggling, just get one side in and gradually go around the top bubbles easing them over the base as you go around until it fits.
I would love to see your finished cosies! If you’re on instagram tag your creation with #bubblejarcosie
Hope you enjoy! x