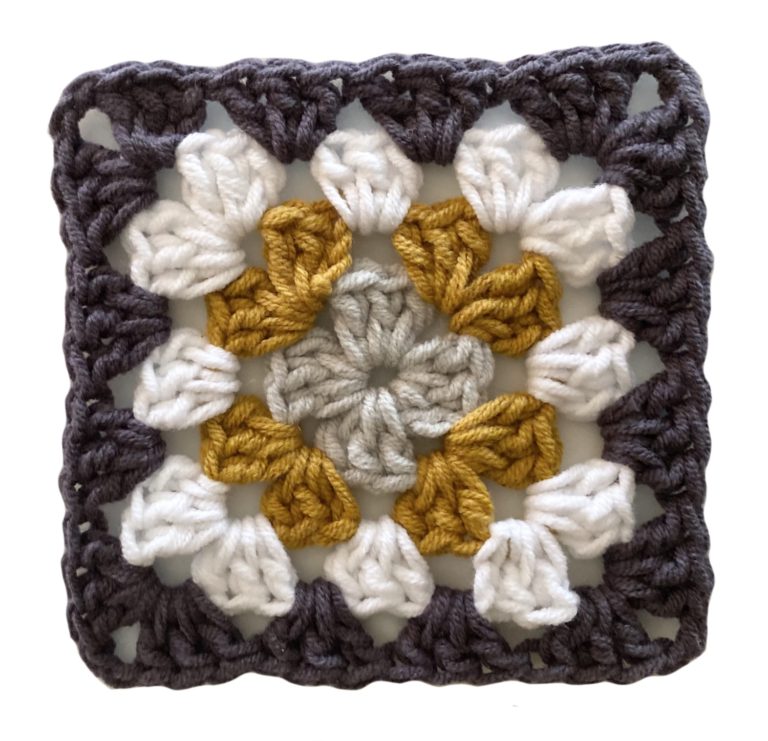
Basic Granny Square

While obviously not my pattern, I thought it useful to share how I make my Granny Squares and the tips I’ve learned along the way!
Project Details
Easy
This pattern is written in US Crochet Terminology and uses standard Crochet Abbreviations.
Description
- Ch 4, join into a ring.
- *3 dc, ch1, rep from * 3 times more. Sl st into top of 1st dc. (12 dc & 4 ch spaces). Change colour if required.
- *In a ch sp, (3dc, 2ch, 3dc), rep from * 3 times more. Sl st into top of 1st dc. (4 corners made). Change colour if required.
- *In a corner ch sp, (3dc, 2ch, 3dc), 3dc in next gap, rep from * 3 times more. Change colour if required.
Repeat row 4 (increasing the number of side 3dc clusters on each row) until the desired size.
Some granny square patterns have a ch1 in between each 3dc cluster. I don’t like to do this, preferring the more sturdy square produced when the ch1 is omitted. However if I’m going to ‘join as I go’, I’ll then add a ch1 between each cluster on the last row only.
Also, if your plan is to make your granny square any bigger than 4/5 rounds I strongly suggest that you turn your work after each round working alternate rounds on the front and then the back. This will help to keep your work square.
